
Altium Assembly Tool
GitHub link: https://github.com/bigcrimping/altium_assembly_tool
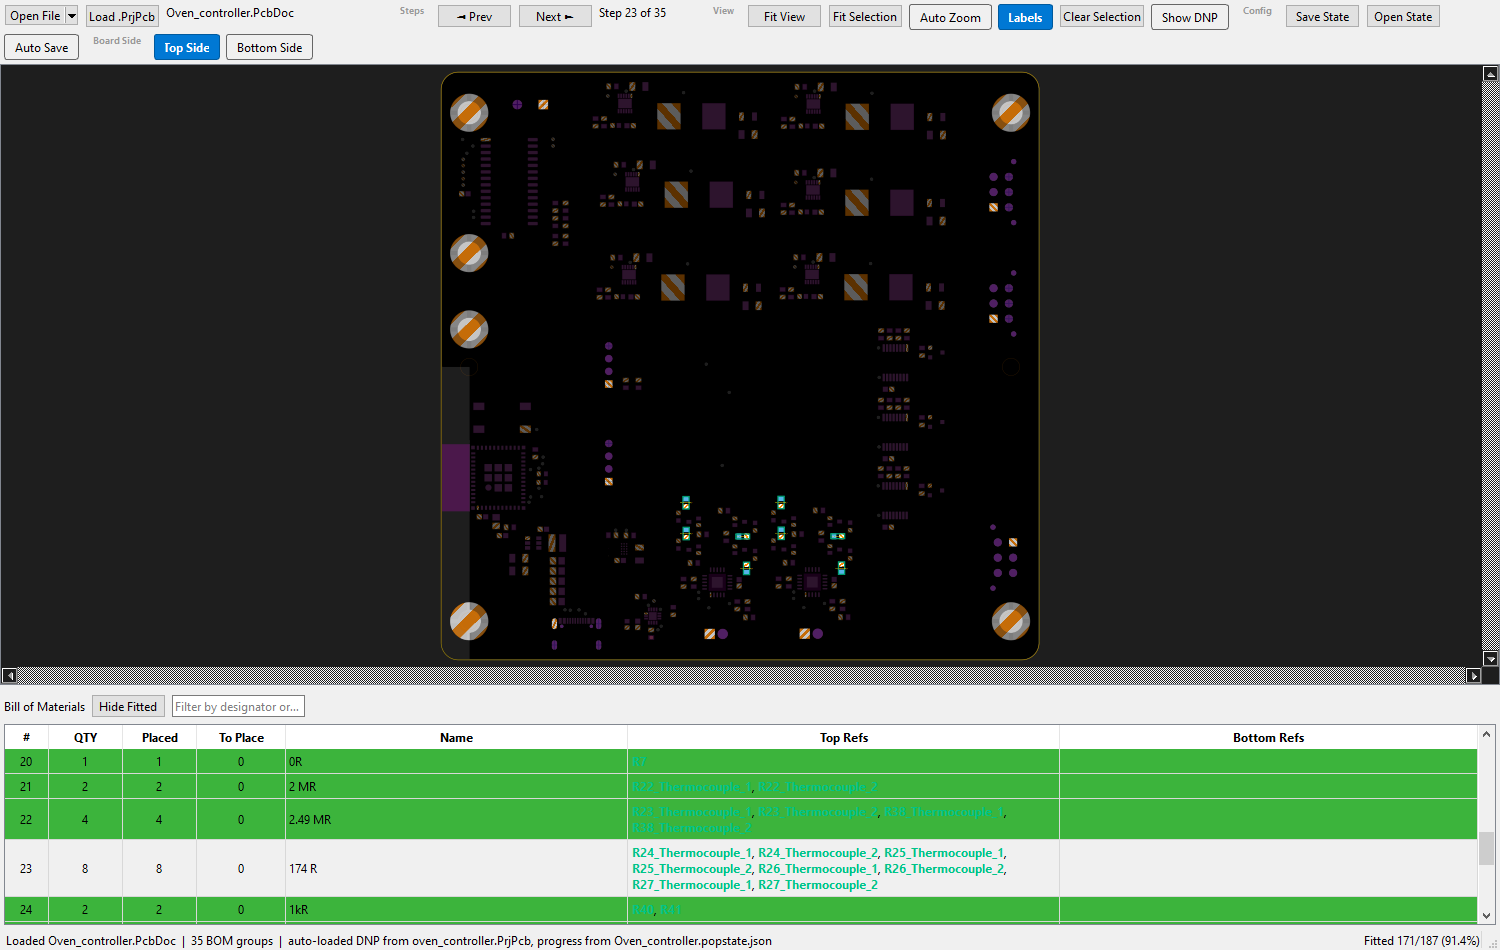
A 2D PCB assembly viewer for Altium .PcbDoc files, built with PySide6 and Altium-monkey. Step through the BOM, track which components have been placed, mark No-Fit parts, and save your progress between sessions.
What it does
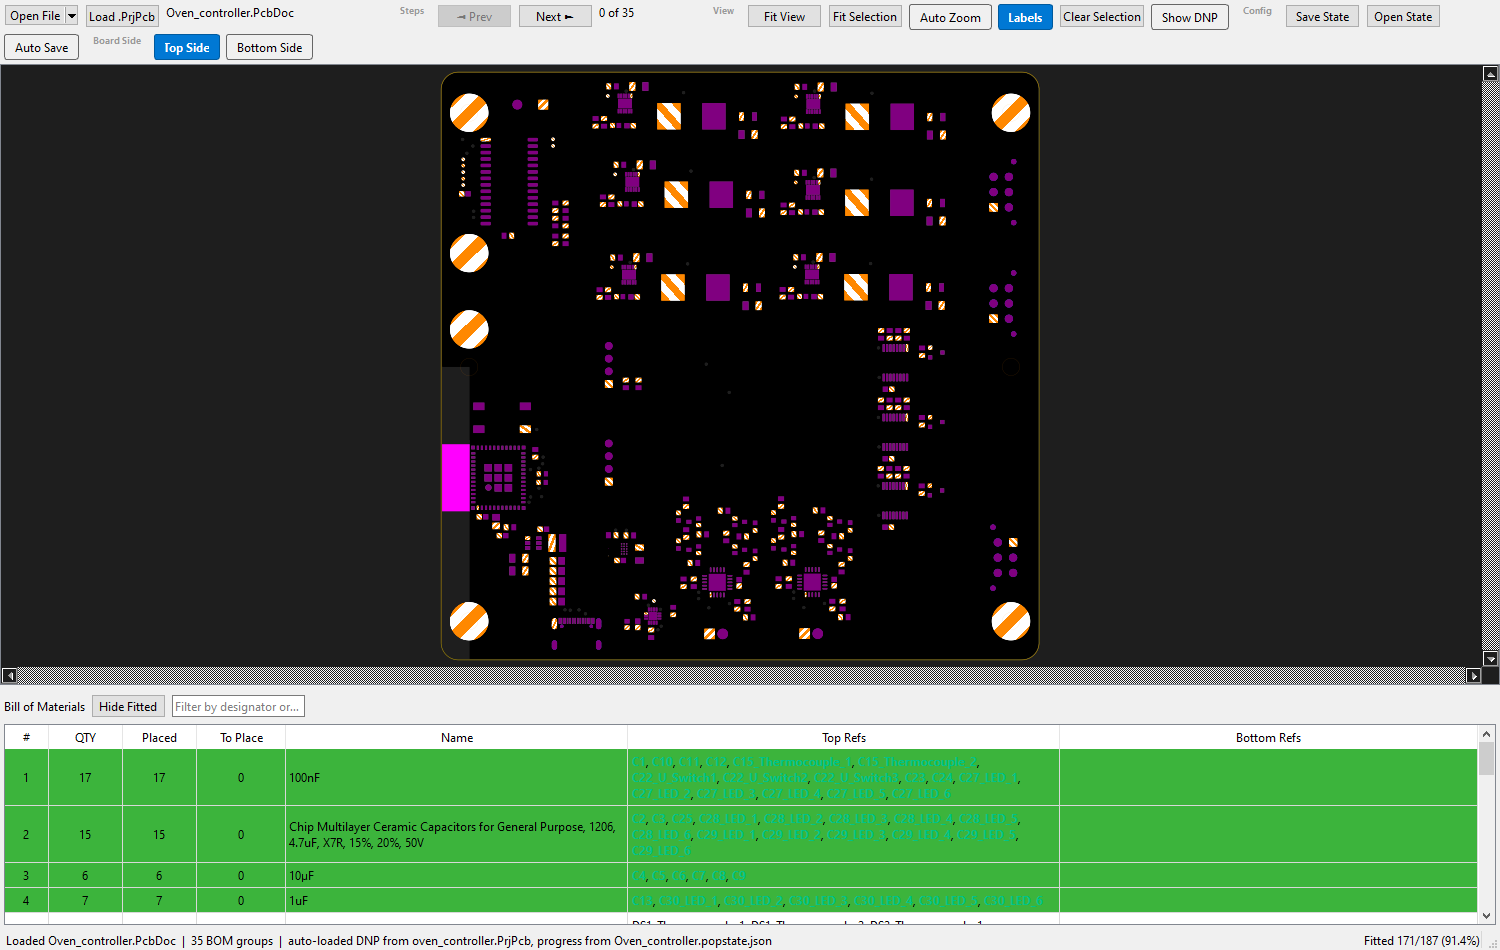
Open a board and the tool renders it in the top pane with the BOM table populated below. Click a BOM row to highlight that component group on the board (everything else dims), then double-click component pads to mark them as placed as you work through the build.
No-Fit (DNP) data
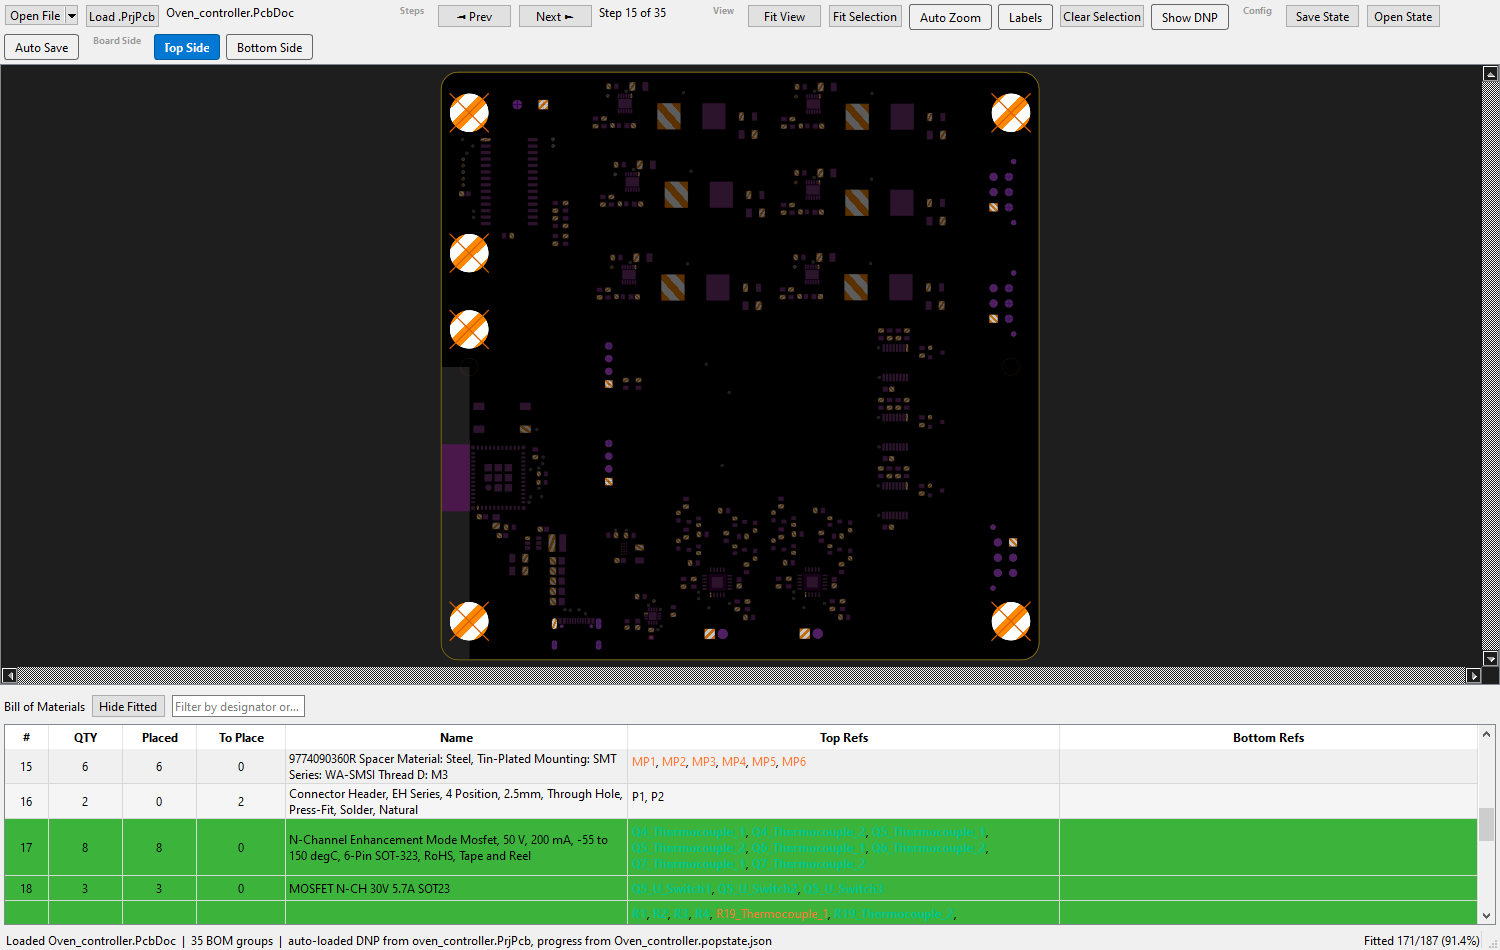
Load the matching .PrjPcb project file and the tool reads the active variant’s Do Not Place list. DNP refs show red in the BOM and a red X overlay on the board, and count as already placed for row completion so a row with one real part and one DNP part goes green once the real part is fitted.
Tracking placement
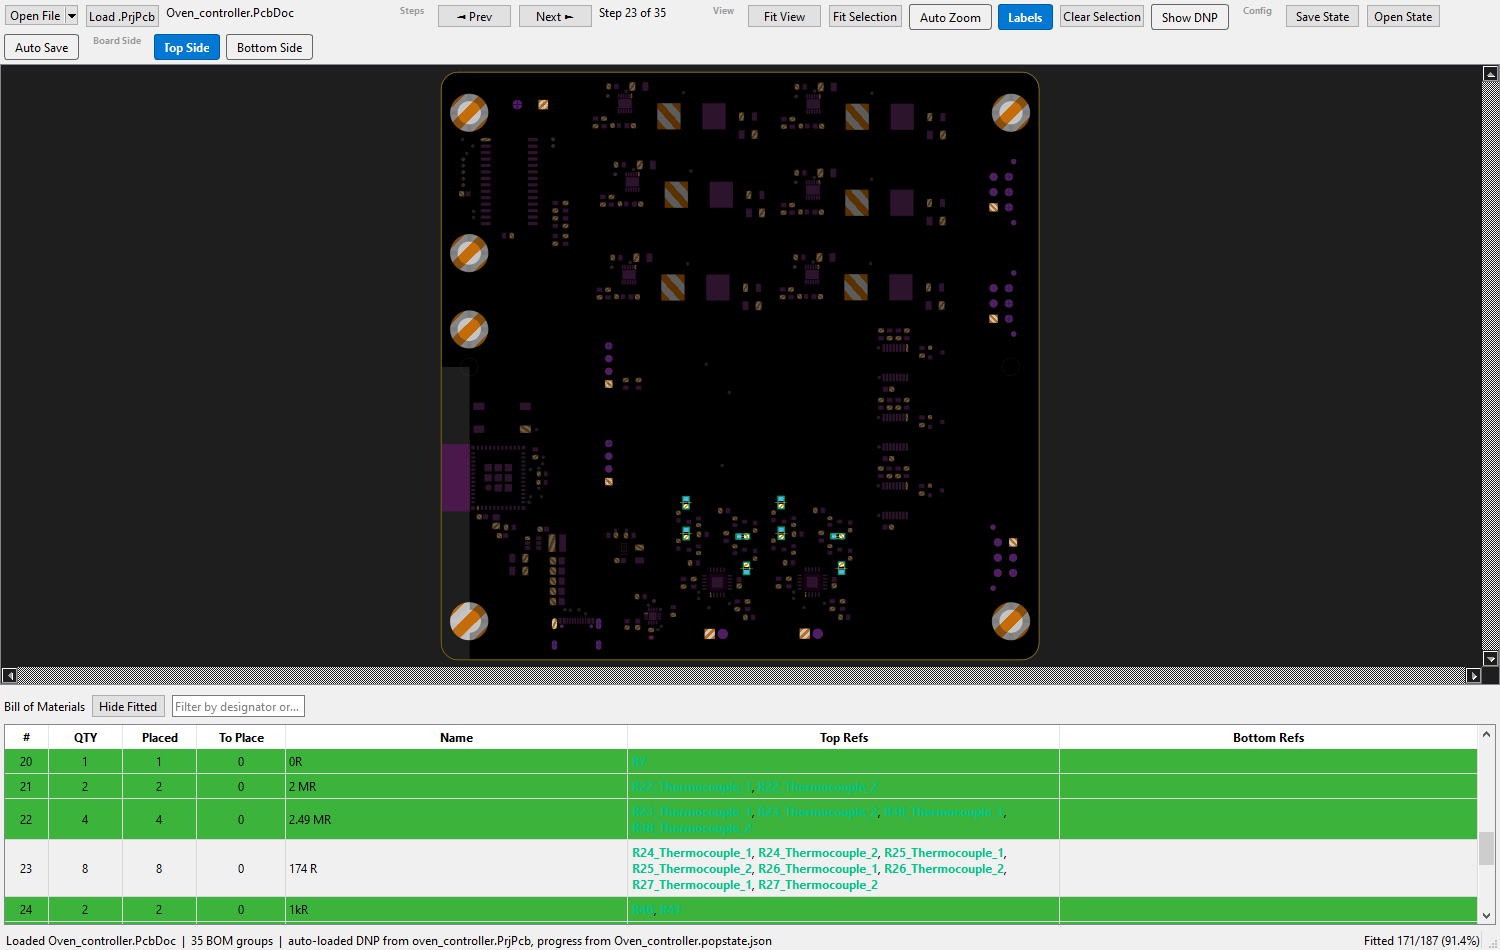
With a BOM row selected, double-click a component pad to mark it as placed. A green border box appears around the component and the ref turns bold green in the BOM. When every ref in a row is placed, the whole row turns green. The status bar shows overall progress (e.g. “Fitted 135/456 (29.6%)”).
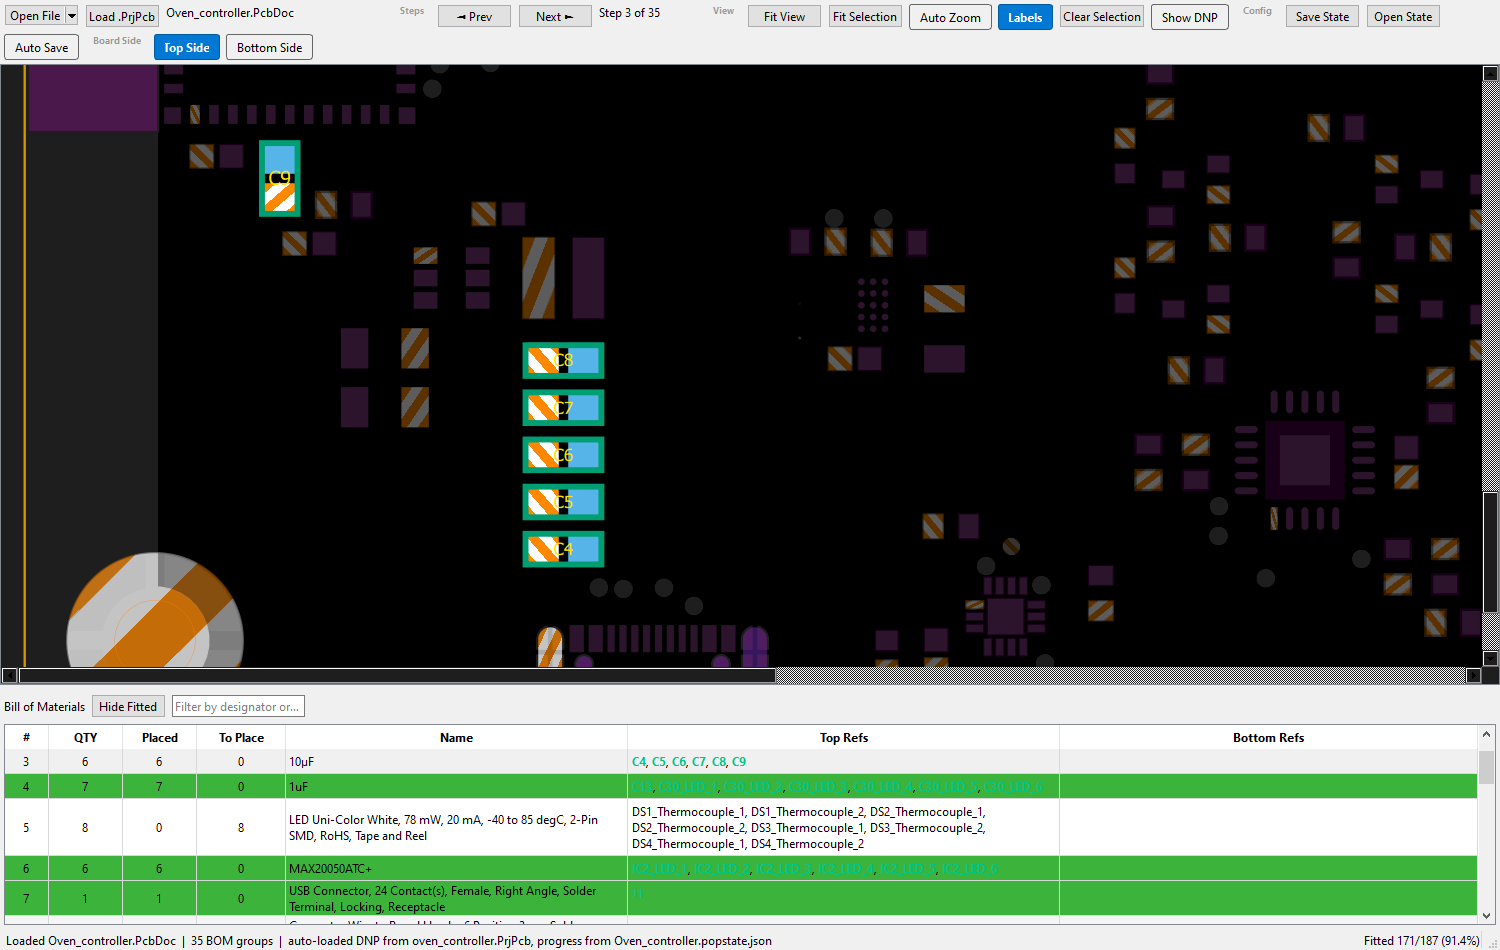
Double-clicking a placed component toggles it back to unplaced, and Ctrl+Z / Ctrl+Y undo and redo placement toggles.
Saving progress
Save State writes placement progress to a .json file, Open State reloads a previous session, and Auto Save persists progress to <board>.popstate.json after every change. The state file is plain JSON containing only the list of placed designators.
Browser mode
As well as the native desktop window, the tool includes a browser-based UI that runs a local Flask web server and opens your default browser automatically — useful for remote access or to avoid the PySide6 dependency, with full touch-screen support.
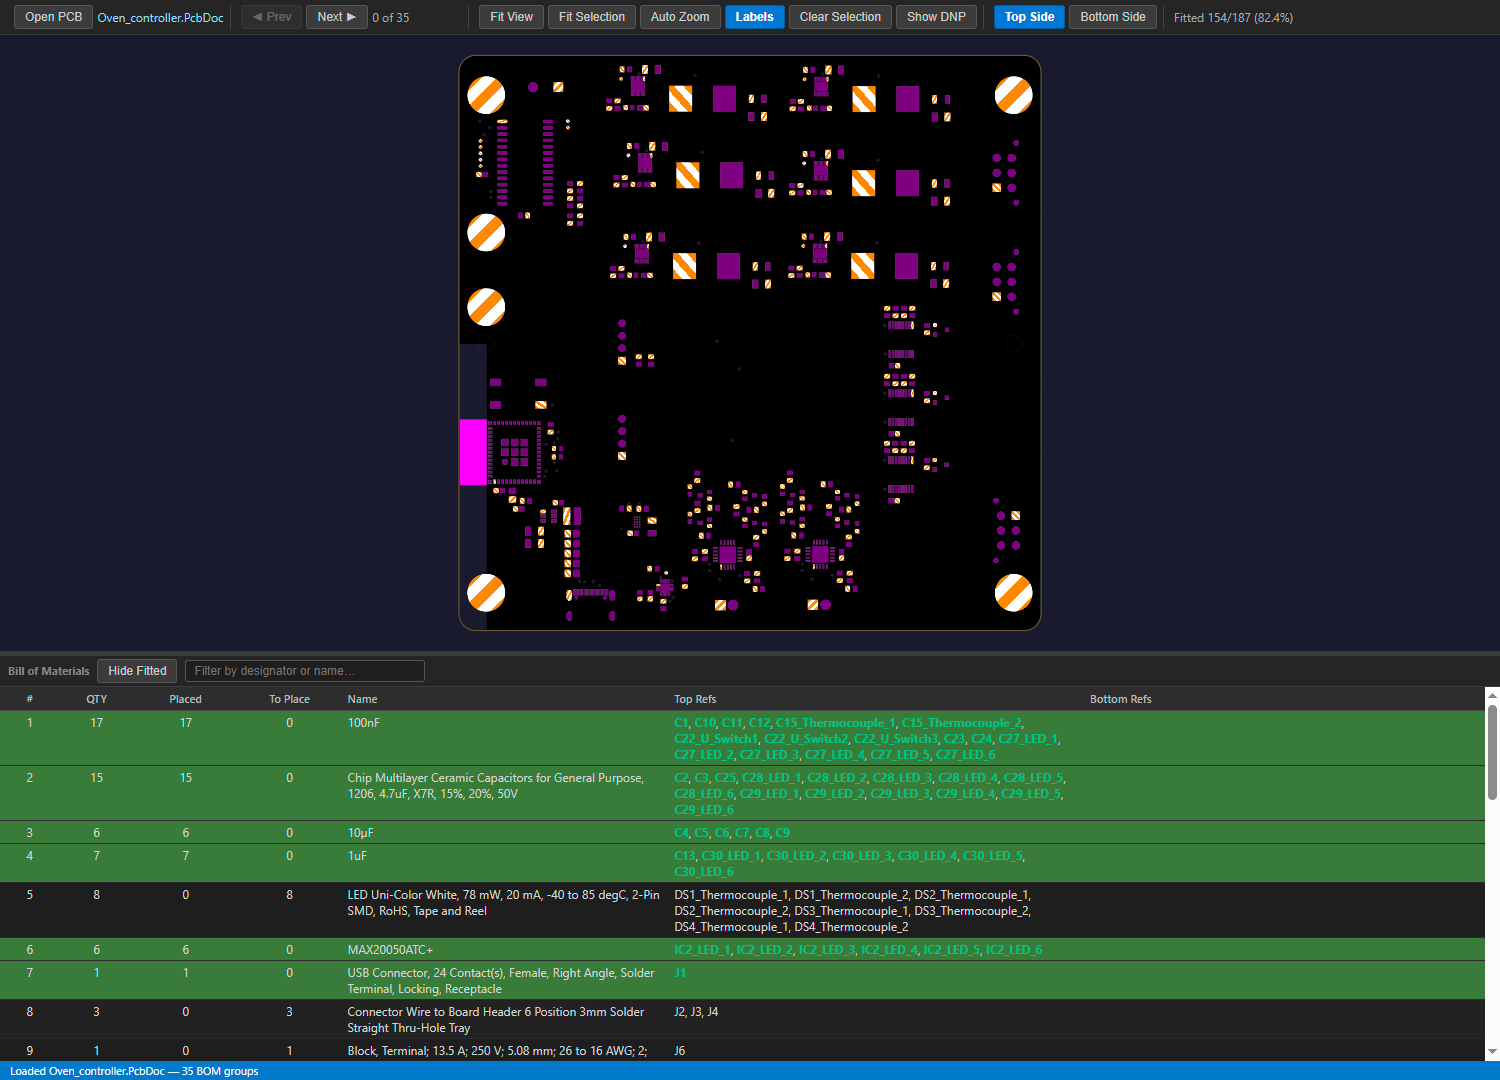
python main.py --browser
Requirements and setup
- Python 3.12 (recommended — PySide6 support for 3.14+ is limited)
- Git (required to install
altium-monkeyfrom GitHub)
Full step-by-step installation instructions (virtual environment setup, activation and dependency install) are in the README.